


Your character reaches a parked car, gets in and drives to a destination. That modest sequence gives an AI game project something useful: a result you can check. A larger city can wait until the journey works.
The creator’s original “Bir Gecede GTA İstanbul Yaptırdım! (Claude + Tripo AI)” project video brings coding, generated 3D assets and Unity together in an Istanbul-themed prototype. It opens a practical question for anyone starting a smaller project: how do you organise the work so a problem leads to a specific fix?
Define what the player must be able to do
Start with one route and one task. My suggested first brief is a character that can reach a vehicle, enter it, complete a short delivery and leave it again. The task should complete once, and restarting should return the scene to its starting state.
Write those outcomes before asking for the city around them. You can initially use boxes for buildings and a simple shape for the vehicle. Play the same route after each change. That makes it easier to connect an unexpected result to the behaviour you just added.
Decide what counts as a pass, too. The player should remain on the ground, stop at a wall and retain control after leaving the vehicle. These are proposed acceptance checks: a way to turn a broad creative request into a manageable first build.
Connect the tools with clear responsibilities
Claude Code works on the code. Unity runs the scene and gameplay. Tripo supplies 3D assets; its official CLI documentation describes use with coding agents, including Claude Code. A CLI is a command-line interface.
MCP support in Claude Code provides a way to connect external tools. For Unity, CoplayDev’s MCP for Unity is one documented bridge for editor operations. It is an independent open-source project, unaffiliated with Unity Technologies. Record which bridge and version your project uses so the setup can be repeated.
Keep the first connected action small. Ask the agent to make a simple scene change, inspect it in the editor and confirm that the project still opens correctly. Then introduce the next tool. A clear starting state is useful when a later connection needs troubleshooting.
Let each asset earn its place
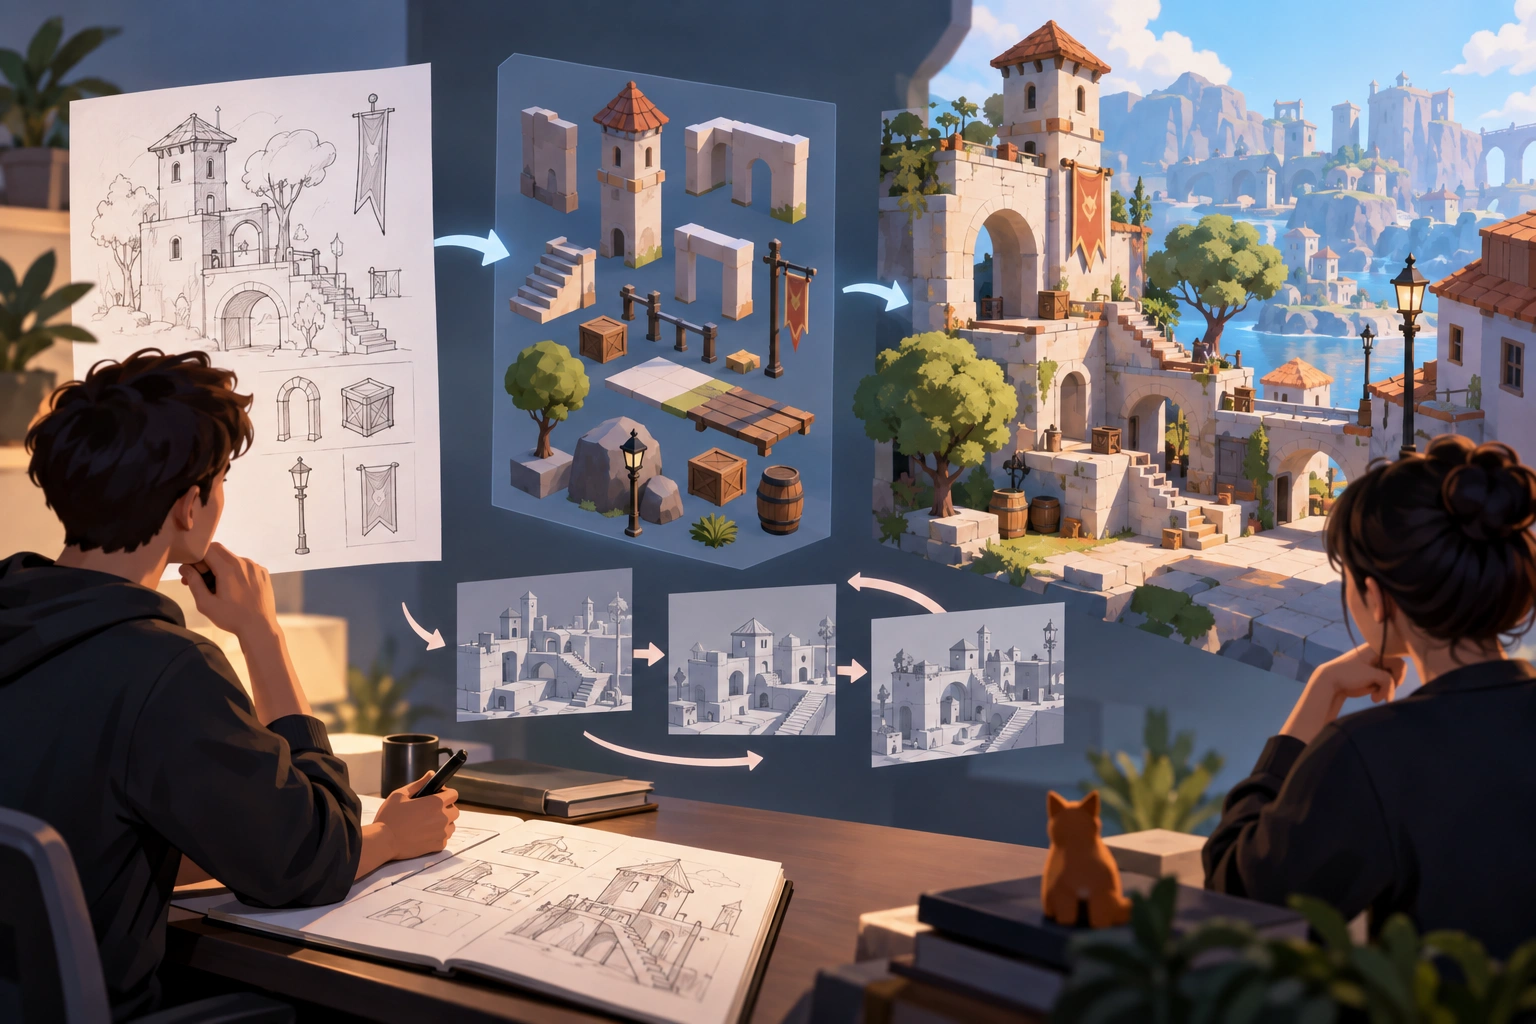
Before generating a cast of characters, prepare one consistent reference set. Front, side and rear views should describe the same design. Label the directions and inspect the entire body, including any features that become visible when the camera moves behind it.
Import one sample into the scene. Check scale, ground contact, materials and silhouette from the player’s camera. Tripo documents retopology, which reduces the number of polygons making up a model. Compare the simplified asset with the original around the face and joints.
A moving character also needs a rig: its virtual skeleton. Animation retargeting applies motion to a rigged model. Begin by checking a stationary pose and walking, then add running and other movements. Watch feet, knees and turns closely. An attractive character should remain convincing while the player controls it.
Keep generation spending visible
Separate installation from paid operations. Tripo’s billing rules describe credits being reserved when a task starts, consumed on success and returned on failure or cancellation. A wait timeout needs a status check: the CLI documentation explains how to keep watching an existing task.
For your own trial, keep a short asset ledger with the name, task ID, spending and acceptance decision. Set a budget before expanding the asset list. Configure access separately as well: Claude Code enforces tool permissions through its permission system. Put the intended work in the brief and the permitted access in the application settings.
Use the same route to judge every build
Save the working version before adding a feature. After the change, repeat the route, collision check, vehicle interaction and restart. Record a pass or a concrete issue for each step. Small detail. Big difference.
Then give the build to someone who has not seen your instructions. Observe where they hesitate before explaining how it works. That reveals whether the controls and task cues communicate the intended action.
Measure the route on your intended device as well. Unity Profiler can collect application performance information. Reusing the same route makes later comparisons more useful. Once that small slice holds together, you have a sensible place to add another street, character or task.